Death & Flower Sculpture Stems
My life shifted a bit this year with the sudden death of my father. His 81st birthday would have been tomorrow and I am not quite so certain of or yet adjusted to his physical absence. He was a great supporter of me doing my own thing and still I noticed right after he passed that perhaps I was not living my life as full as might be possible. I noticed the areas where I play things safe, try to look good, not rock the boat or upset anyone, etc. I do like for things to be nice, I do like to be gentle and kind, I do want people to be happy. I am a fairly mild human being. I also think of myself as a tad bit eccentric. So, with that in mind, I am reinventing myself as a mixture of Elegant and Eccentric. I am building a new website. I am taking time to care for my family. I am taking time off from teaching in the Fall, reinventing how and what I teach, and starting again in 2013. I am making those sculptures I always wanted to make and was afraid they were too silly. By the way, I am a bit silly too. So, here's to life, here's to death and transformation, and here's to living a life you love.
Now, back to the flower sculptures:
The stem of the flower may be finished last, after the mosaic application. In this tutorial, I am working it now as many of you have been patiently waiting. Again, this flower will be an indoor sculpture and will sit on a pedestal or tabletop.
I wrapped the stem in blue tape to help hold things together. In this photo, you can see where I have marked the area I plan to trim. If your flower is an outdoor flower and will be set into a pipe, do not trim it.
You may click on the thumbnail to view a larger image.

Cut the wire with wire cutters.

Use epoxy putty, the kind used for plumbing repairs. It's an easy-to-use substance that can be modelled like clay. Wear rubber gloves and work in a ventilated area when using. Basically, follow the directions on the packaging.

Unwrap the putty. It will be two colors. Tear off a bit and knead it together to form a uniform and consistent color. Work quickly. If the putty starts to get warm, it is curing! You want to have enough time to use it on your sculpture.

Begin applying the putty to the stem. Work neatly and wrap the entire stem. If your flower will be set into a pipe, work only the section closest to the petals in order to create the look of an elegant form.

For those outdoor flowers:
Assuming your flower is mosaicked and ready for setting into a pipe, now is the time to mix more putty, wrap the stem in a thick coating, and smoosh (a technical term similar to press) it into the open end of the pipe. I recommend copper pipe cut to length before this step. Add additional putty as needed for reinforcement and aesthete. Let the putty cure as directed. It can be painted when cured.
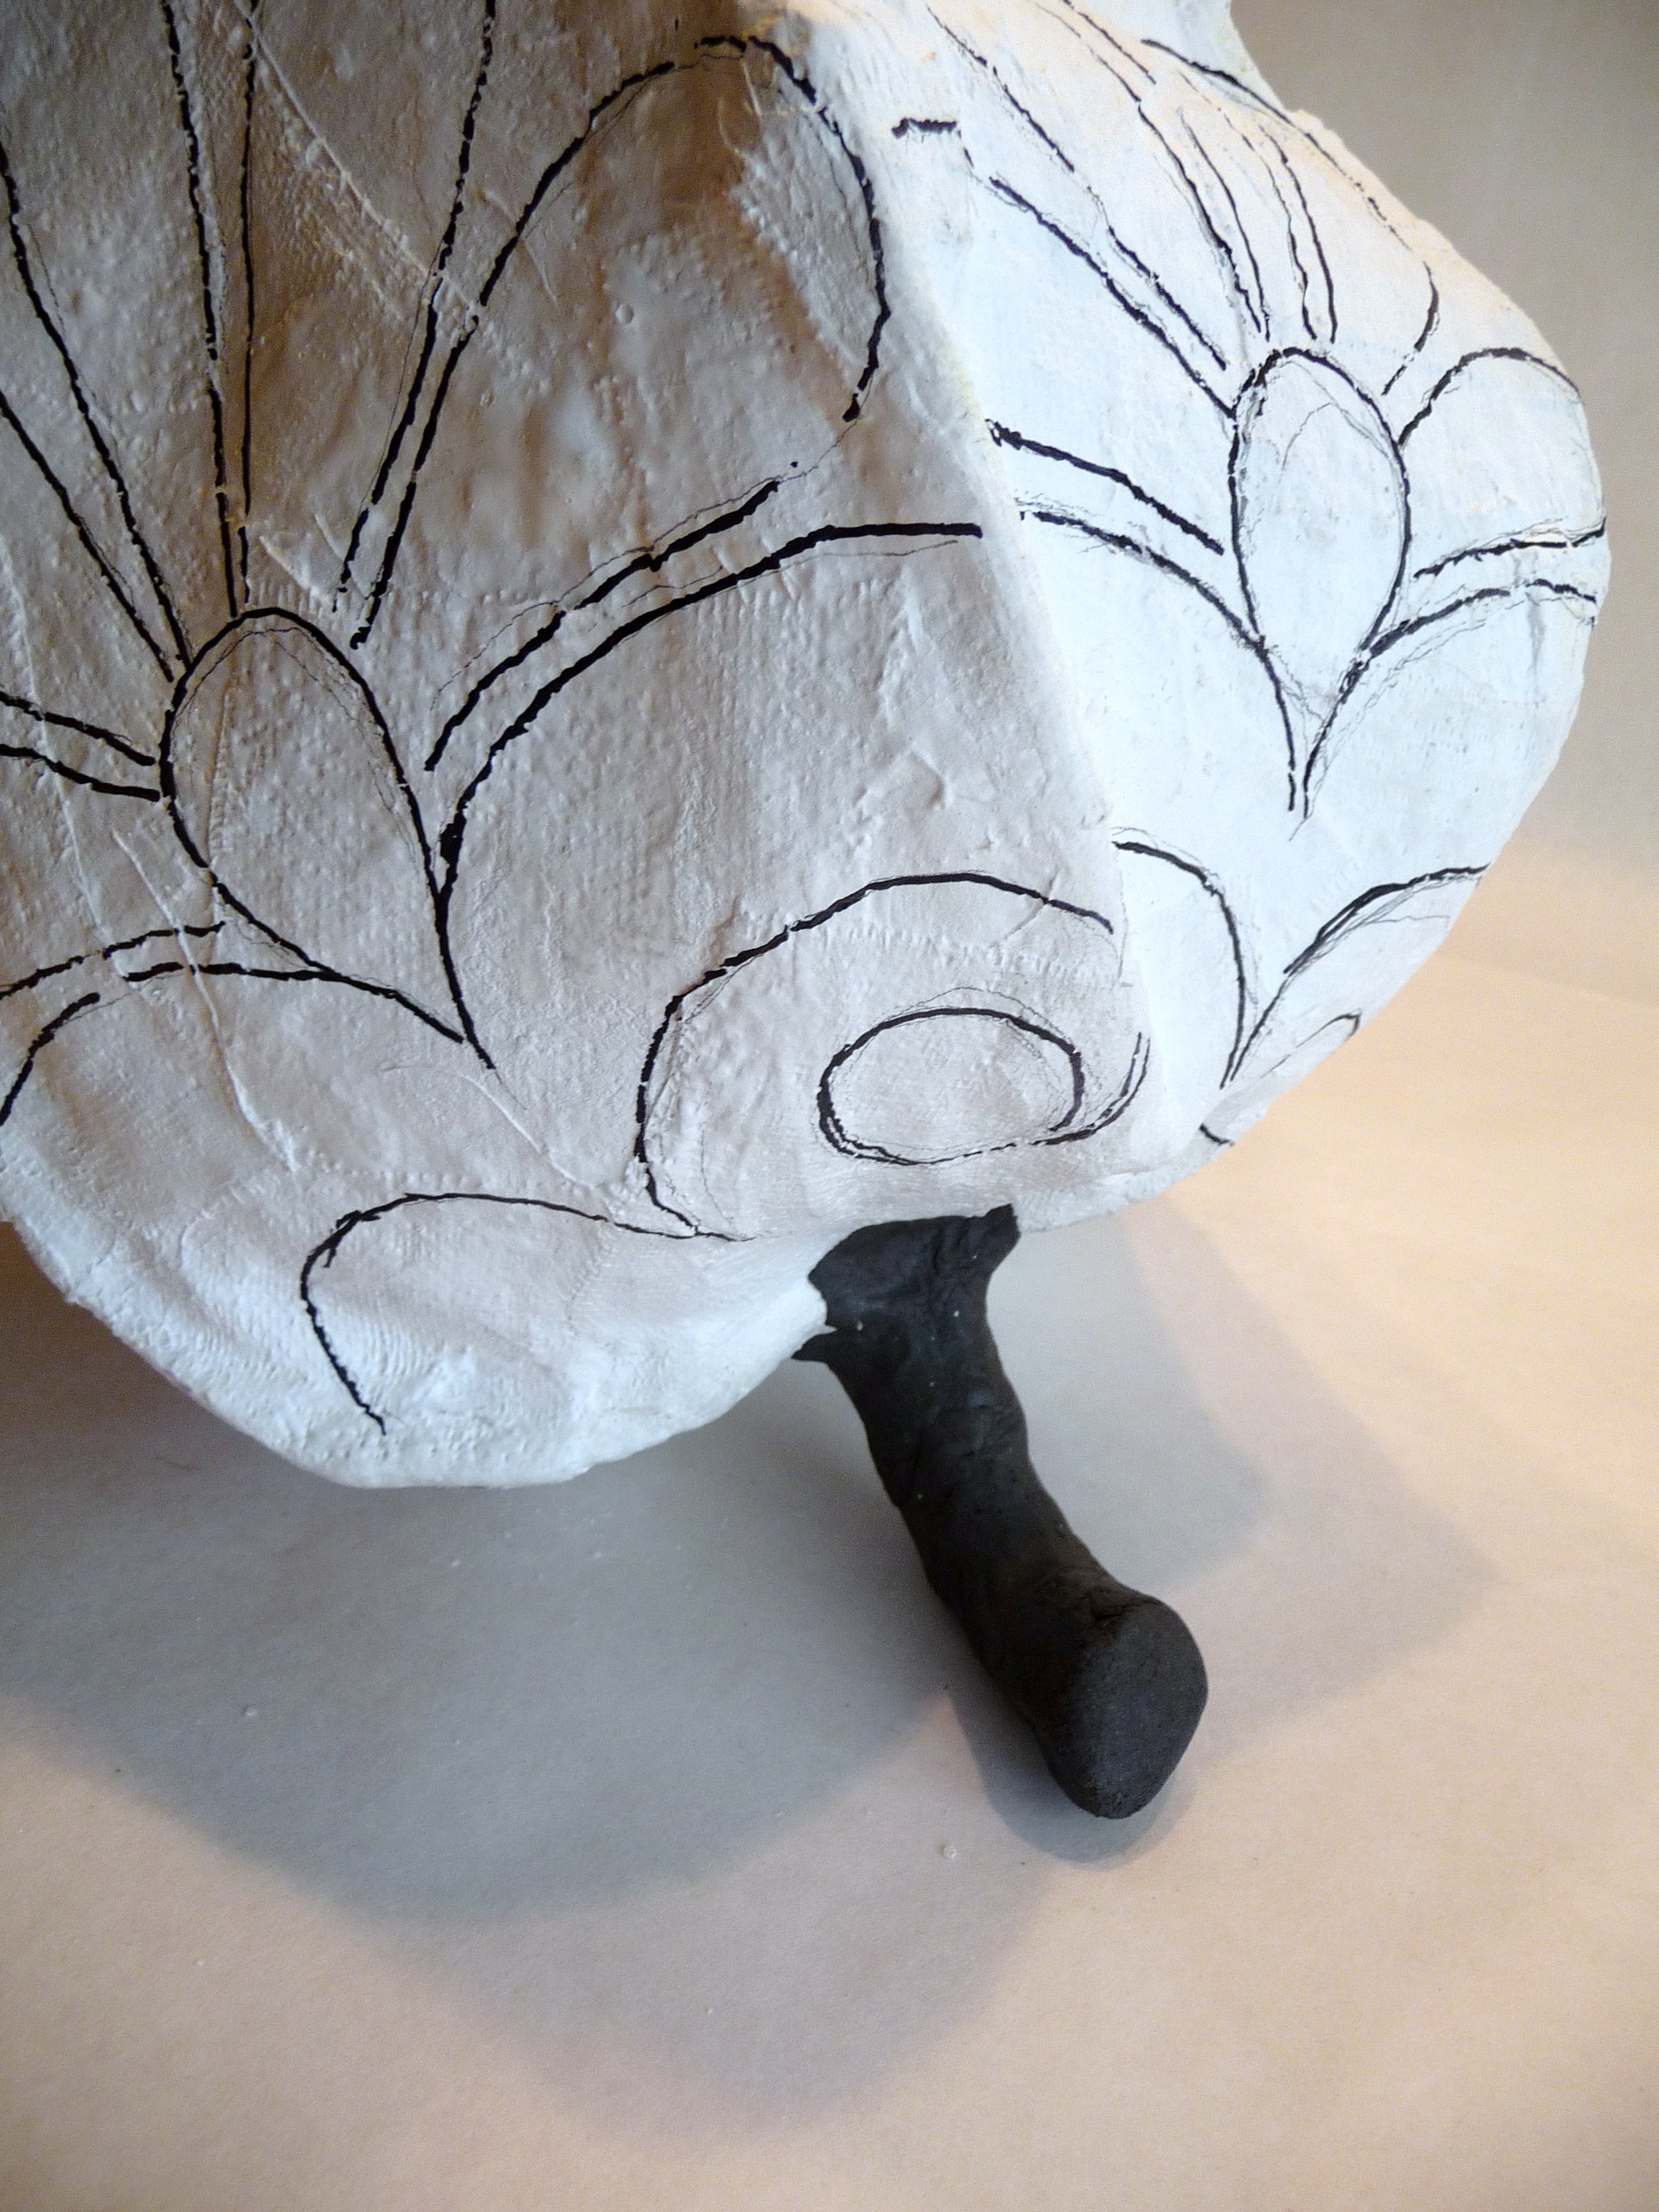
Here, I am finishing out the stem of the indoor sculpture with more epoxy putty.

Sculpt it to your liking and let cure.